Friday, July 19, 2013

Stories from The 'A' Team

I've an English teacher of a friend who really liked to inspire her class of boys (whom aren't the most literary inclined) to write. 

Some time ago, she'd asked if I would be keen to illustrate a bunch of their creative essays.
She had an idea to compile them into a "book" of sort, as a motivation to spur them onto becoming "published" local authors. 

 I of course, honoured, said yes! 

 Having taken this on, I realised it wasn't really a walk in the park for me either.
Illustrating sports-related thingamabobs and teenage boys aren't exactly my usual doodles. 

 All the sweat paid off when she presented me this binded book for my keeping. 

 I hope this class of 13-year-olds will feel a great sense of achievement and can show this compilation of essays proudly off to their parents.
Never give up, kids.


Wednesday, July 10, 2013

Keeping up with the Internet Ladies

Where do all you internet ladies find the time to update your social platformssss?
I'm struggling between work and keeping you guys entertained.

The few things that don't seem to be difficult for me to update are my Instagram and Facebook page.
So truth is, if you really want to see what I'm up to, is best to go on them :)

But here's a few Instagram videos I've done up!
These things are loads of fun to do.


Wednesday, March 20, 2013

Metalsmithing classes


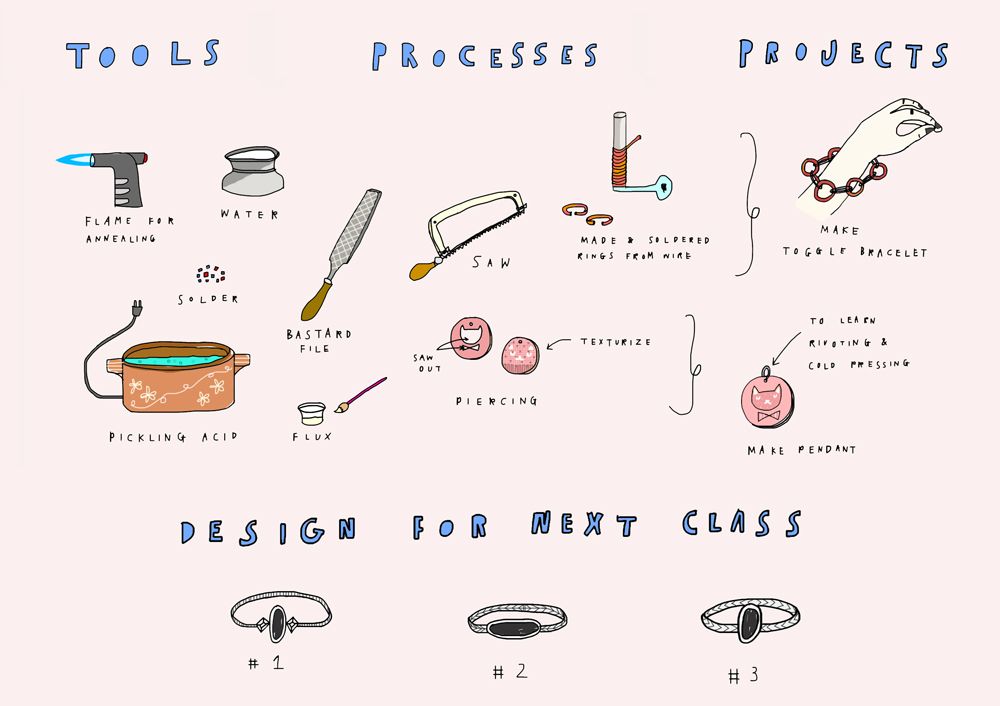
First day of class is pretty awesome. Imagine an extended D&T lesson for the entire day. I've came in midway, and my other classmates have already started with their toggle bracelets and are close to completing them. Bit intimidating as now we are on 2 projects: bracelet and pendant. Hopefully with a make-up lesson, I'll catch up. 

 I can't wait for the next lesson, cause that's when we'll learn to make a bezel ring. Also, no more working on copper, we're gonna be touching silvvverrr. I've already got my heart set out for one of the onyx stones. The course instructor showed us many we would be using: carnelian, green amethyst, rose quartz, etc. We're to bring in a ring base design then.

I can't decide on which ring design I like better!

Thursday, March 14, 2013

Jellies

We went to the oceanarium the other day
& I got to see my favourite sea creatures:


A combination of such grace and deadliness. I'm raptured, as always, by them.

Saturday, February 16, 2013

Ring Me


This is my stack at the mo. Every ring is symbolic.
 I love how I can admire them whenever I'm working. I love rings. LOVE them.
 
Ergo, I'm very excited to announce that I'll be taking up a course on metal smithing next month - eek!
Will this mean some actual jewellery (no more polymer stuff) going up on the shop soon? 
Maybe. 
I hope so.

I can't wait!

Wednesday, February 13, 2013

Simple Cushion Cover Tutorial

I'm in the middle of a room improvement. Since I was about to make some cushion covers from my old curtains, I thought, why not make a tutorial?

This is my first tutorial. It's a fairly easy project. Let me know if it's helpful! :)

Things you'll need:
Cushions you want to make covers for
Fabric of your choice
Measuring tape or ruler
Chalk or pencil to mark
Scissors
Sewing Machine (and a Serger if you have it)
Cup of tea for after you're done

First measure your cushion. Mine's 16" x 24".


Cut out a piece of fabric that measures one inch short all around your cushion's breadth and length.
 I made my fabric 15" x 23". See Fabric 3.


 You want your cushion cover to measure slightly smaller than your actual cushion's size.
A smaller cover helps to retain shape and makes your cushion look plump.
If you like an even fuller look, you can cut it short 2" all around, but I wouldn't recommend anything more than that.


Next, cut up another piece of fabric with the same breadth as your first.
Only this time, extend your fabric's length by 6 inches. I ended up with a 21" x 23".

With this current fabric, cut it right down the middle (breadth-wise) to produce Fabric 1 and Fabric 2, as seen in the picture on top.

You'll now have 3 pieces of fabric to work with.


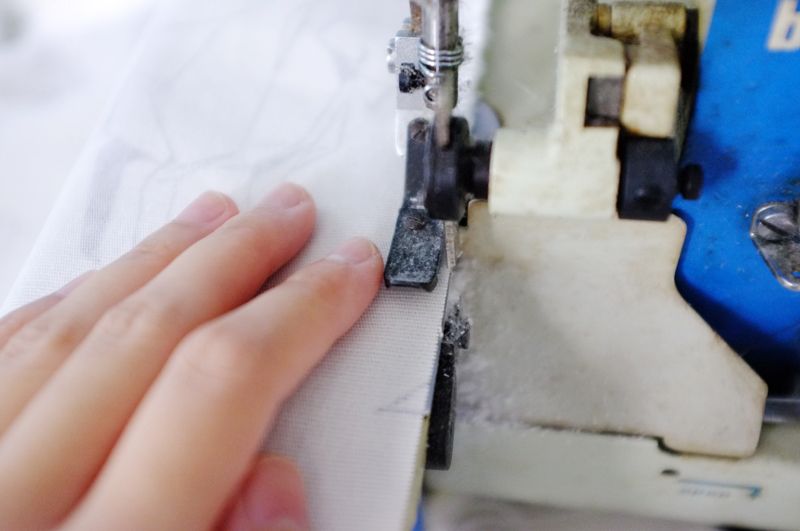
If you fabric frays like mine does, you'll need to use a serger.
If you don't have a serger, you can run the edge of your fabric really closely through your sewing machine with a zig-zag stitch.


Serge all sides of your fabric


After that's done, pick up Fabric 1 & 2 and bring them over to your ironing board.
With Fabric 1, fold and press a rough 1 cm from the bottom, upwards.


Fold up and press down another 1 cm again, to hide the edge where you've serged.


Repeat the same for Fabric 2, only this time start your fold from the top, downwards.


With your sewing machine, stitch your folds down on both your separate pieces.


Now we reach the most crucial and probably most confusing bit of the project:

Lay Fabric 3 on your work table, (I used the floor), with right side up facing you.
Lay up Fabric 2 (the one with the fold on the top) against the bottom of Fabric 3, with its wrong side facing you.
Lay up Fabric 1 nicely over all other fabrics, against the top of Fabric 3, again with the wrong side facing you.

You should have something like the picture.


Next, we pin the pieces all together to prevent them from moving around.
We're about to sew them up!


You want to sew all around the parameter of the pinned up fabric. I forgot to take a picture, so hopefully this illustration suffices.


Leave about 1 cm seam allowance from the border all around the cushion cover.


When you're done with sewing, clip the 4 corners of your cushion with a pinking scissors. 
If you don't have one, a normal scissors will do too. 
Clipping the corner ensures a pointed edge when we turn it over.


The folds of Fabric 1 and 2 form a flap where we can turn the cover over.
Once turned over, it is through the same flap that we'll stuff our cushion through!


And voila! We have cushion covers!


Celebratory cuppa is in order.

Monday, February 11, 2013

FREEESHIPPINGGG


Valentine's and Lunar New Year's gotten to me.
Enjoy free shipping all through this week till the 18th!
Just type in coupon code of "FREEESHIPPINGGG" upon checkout to enjoy it!

YEE-HAW!