
This is my first tutorial. It's a fairly easy project. Let me know if it's helpful! :)
Things you'll need:
Cushions you want to make covers for
Fabric of your choice
Measuring tape or ruler
Chalk or pencil to mark
Scissors
Sewing Machine (and a Serger if you have it)
Cup of tea for after you're done
First measure your cushion. Mine's 16" x 24".
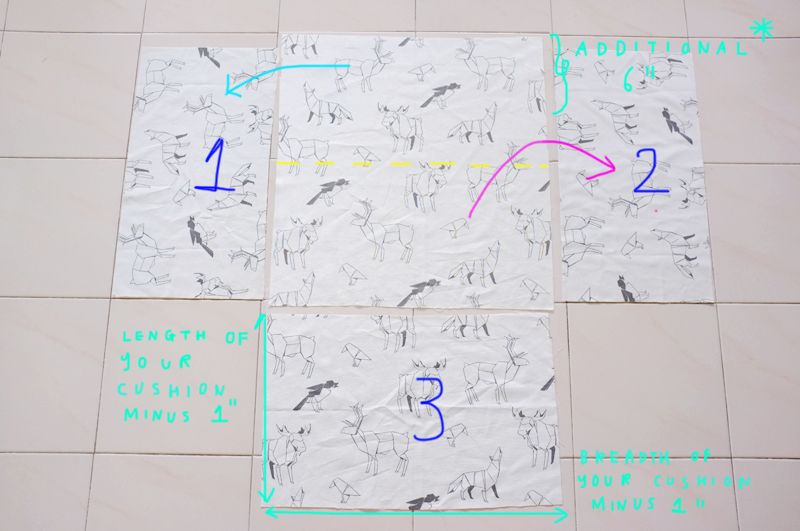
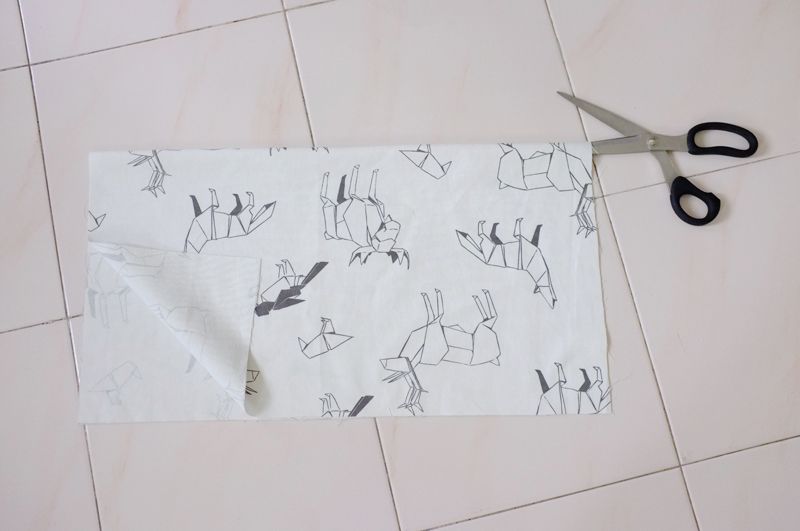
Cut out a piece of fabric that measures one inch short all around your cushion's breadth and length.
I made my fabric 15" x 23". See Fabric 3.
I made my fabric 15" x 23". See Fabric 3.
You want your cushion cover to measure slightly smaller than your actual cushion's size.
A smaller cover helps to retain shape and makes your cushion look plump.
If you like an even fuller look, you can cut it short 2" all around, but I wouldn't recommend anything more than that.
A smaller cover helps to retain shape and makes your cushion look plump.
If you like an even fuller look, you can cut it short 2" all around, but I wouldn't recommend anything more than that.
Next, cut up another piece of fabric with the same breadth as your first.
Only this time, extend your fabric's length by 6 inches. I ended up with a 21" x 23".
Only this time, extend your fabric's length by 6 inches. I ended up with a 21" x 23".
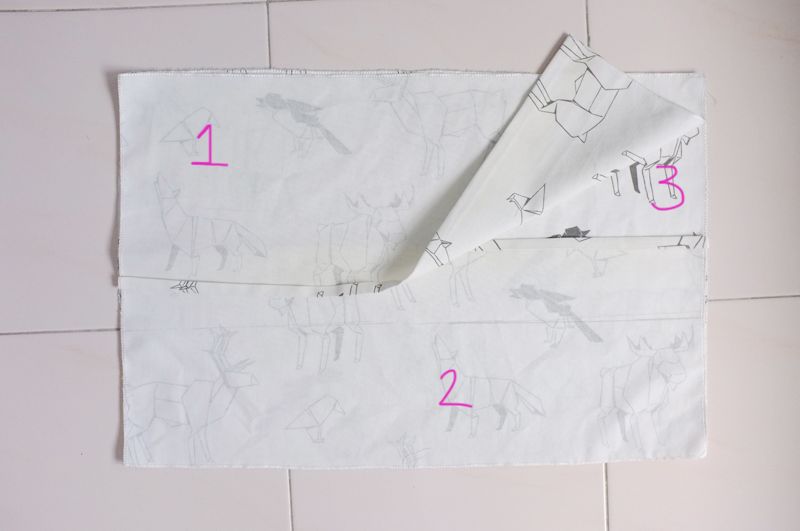
With this current fabric, cut it right down the middle (breadth-wise) to produce Fabric 1 and Fabric 2, as seen in the picture on top.
You'll now have 3 pieces of fabric to work with.
If you fabric frays like mine does, you'll need to use a serger.
If you don't have a serger, you can run the edge of your fabric really closely through your sewing machine with a zig-zag stitch.
If you don't have a serger, you can run the edge of your fabric really closely through your sewing machine with a zig-zag stitch.
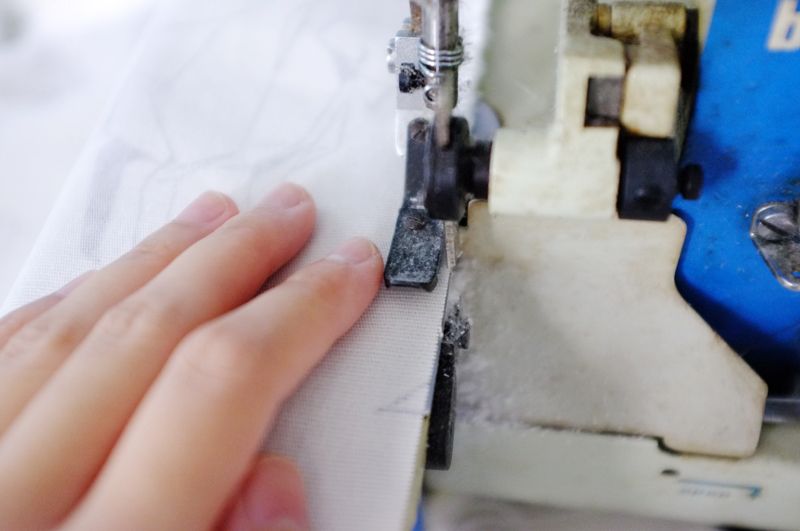
Serge all sides of your fabric
After that's done, pick up Fabric 1 & 2 and bring them over to your ironing board.
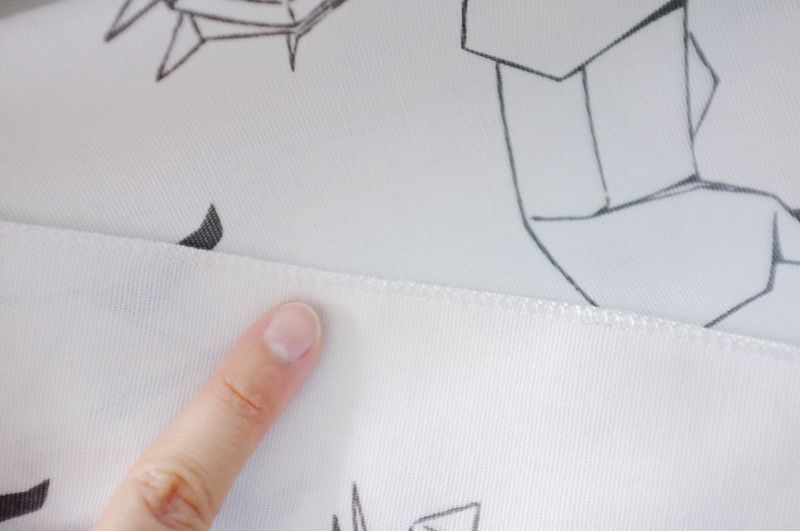
With Fabric 1, fold and press a rough 1 cm from the bottom, upwards.
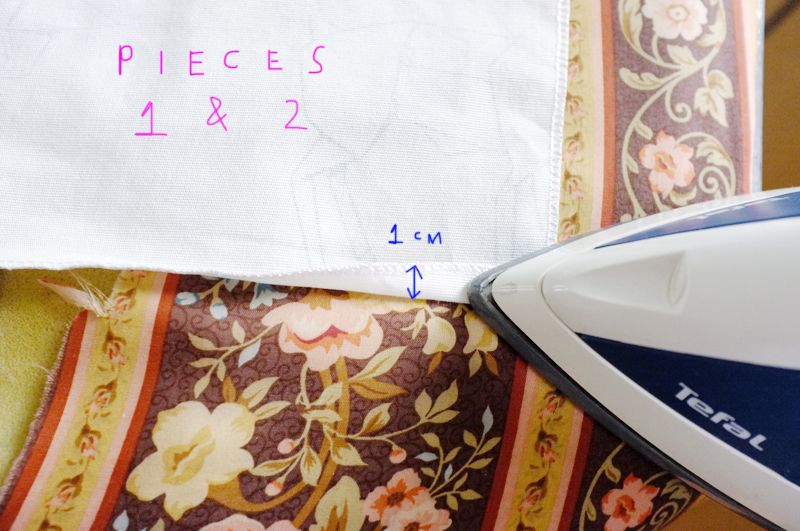
Fold up and press down another 1 cm again, to hide the edge where you've serged.
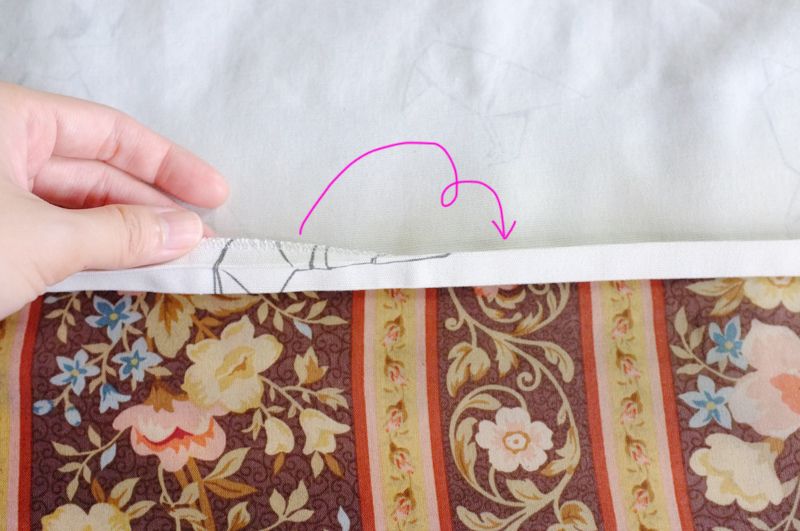
Repeat the same for Fabric 2, only this time start your fold from the top, downwards.
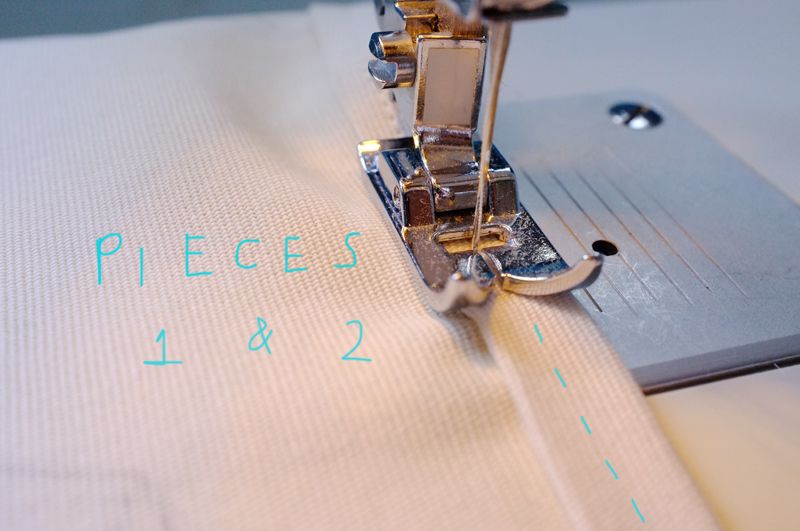
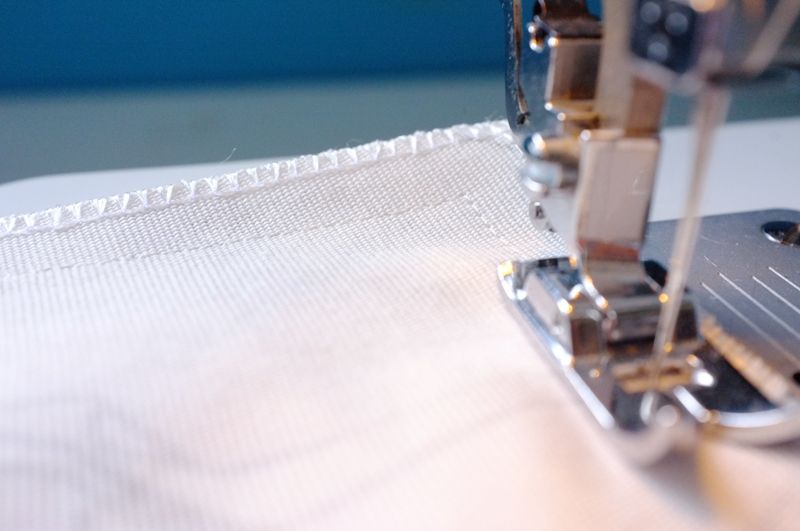
With your sewing machine, stitch your folds down on both your separate pieces.
Now we reach the most crucial and probably most confusing bit of the project:
Lay Fabric 3 on your work table, (I used the floor), with right side up facing you.
Lay up Fabric 2 (the one with the fold on the top) against the bottom of Fabric 3, with its wrong side facing you.
Lay up Fabric 1 nicely over all other fabrics, against the top of Fabric 3, again with the wrong side facing you.
You should have something like the picture.
Next, we pin the pieces all together to prevent them from moving around.
We're about to sew them up!
We're about to sew them up!
You want to sew all around the parameter of the pinned up fabric. I forgot to take a picture, so hopefully this illustration suffices.
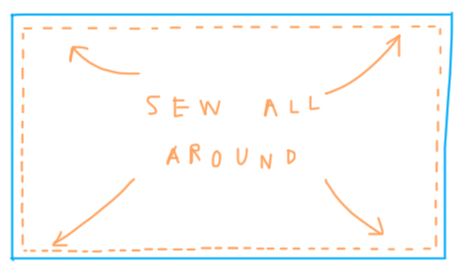
Leave about 1 cm seam allowance from the border all around the cushion cover.
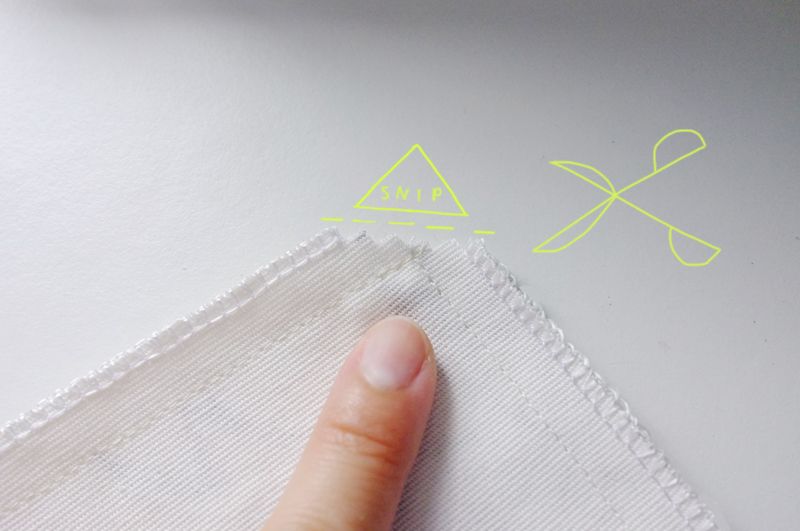
When you're done with sewing, clip the 4 corners of your cushion with a pinking scissors.
If you don't have one, a normal scissors will do too.
Clipping the corner ensures a pointed edge when we turn it over.
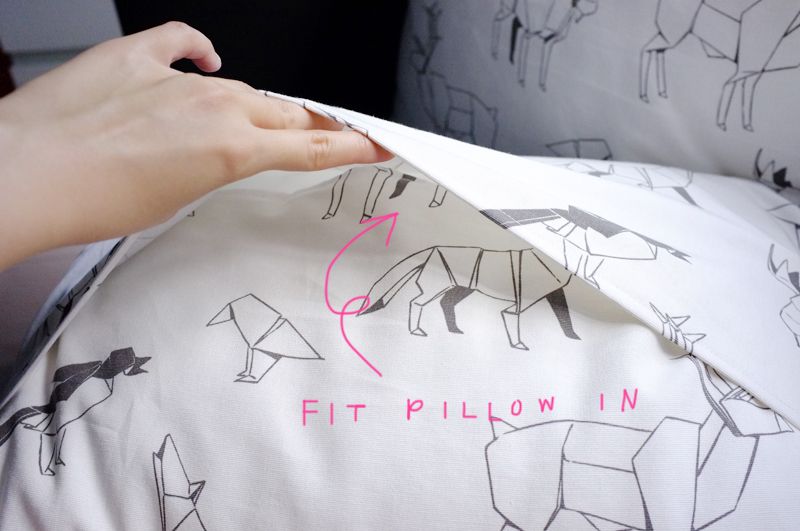
The folds of Fabric 1 and 2 form a flap where we can turn the cover over.
Once turned over, it is through the same flap that we'll stuff our cushion through!
And voila! We have cushion covers!
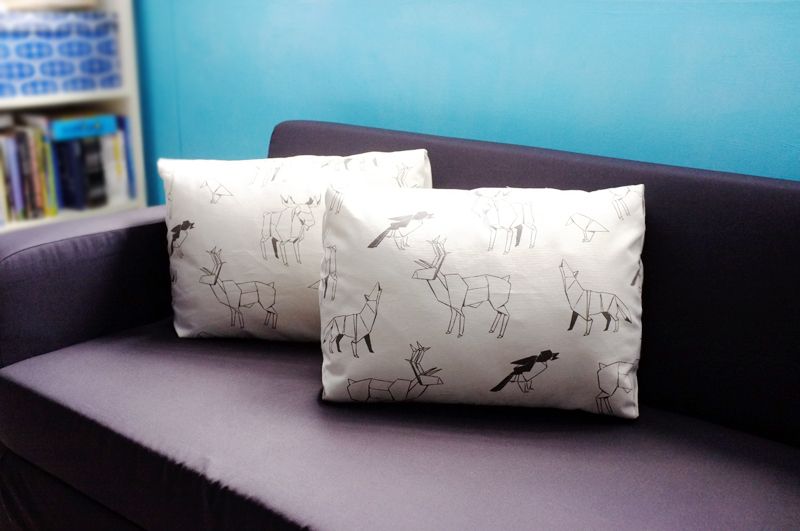
Celebratory cuppa is in order.
No comments:
Post a Comment